
JDK(Java Development Kit) 설치
오라클 홈페이지로 이동
https://www.oracle.com/technetwork/java/javase/downloads/index.html
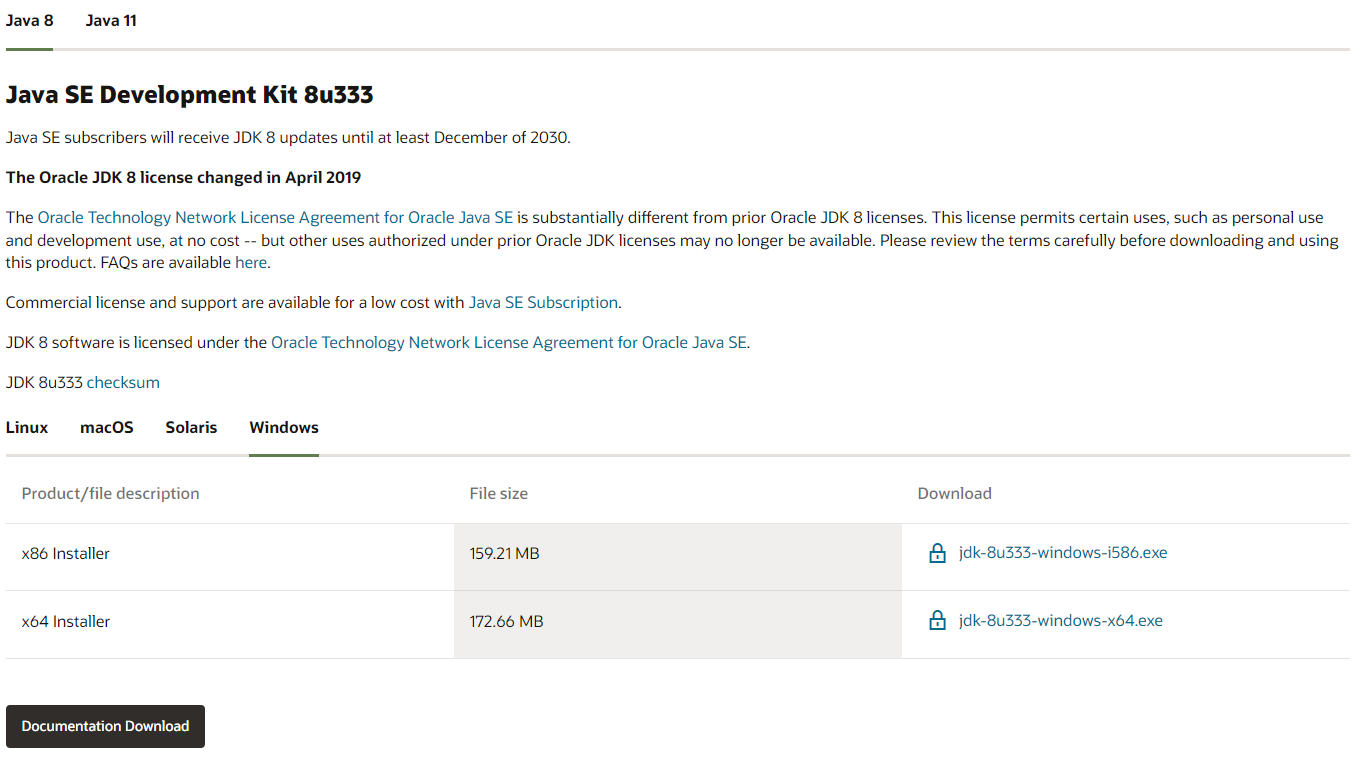
1. download 클릭
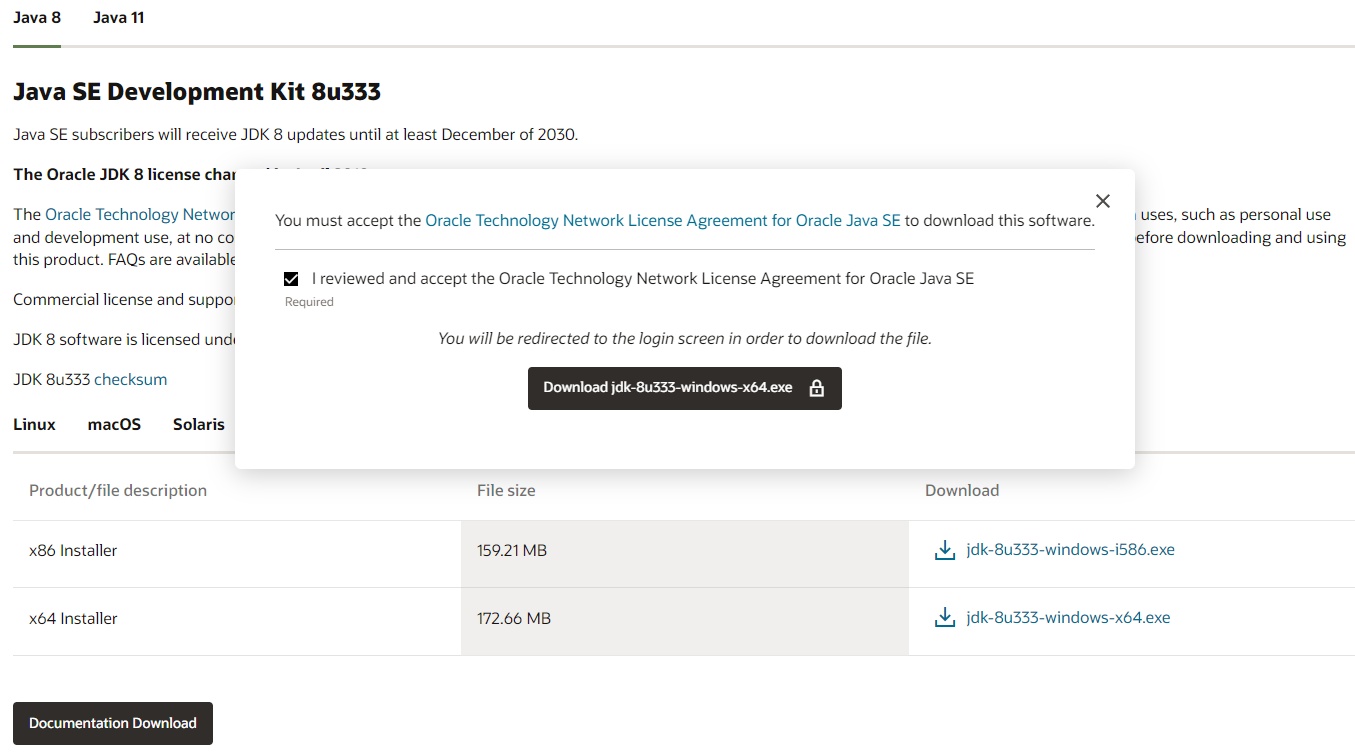
2. 체크 후 download 클릭
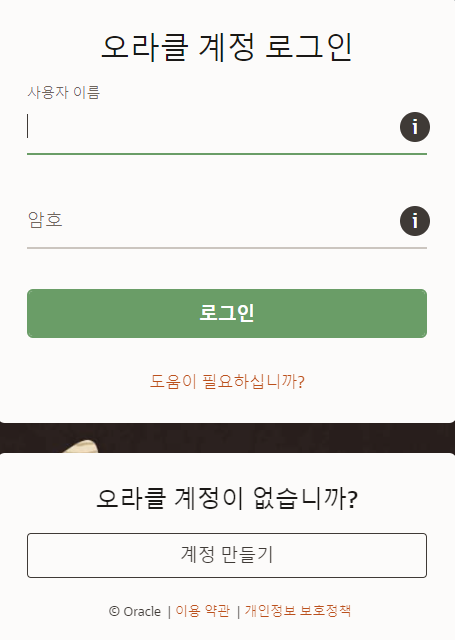
3. 회원가입 후 다운로드 진행
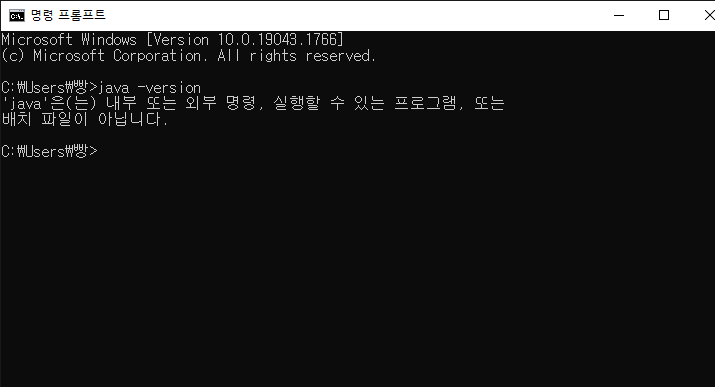
설치 전
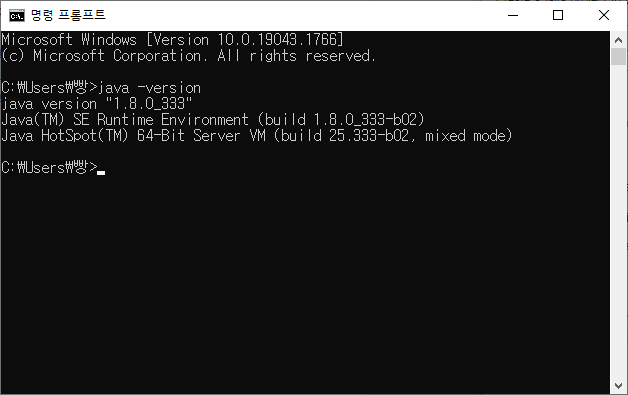
설치 후
eclipse(이클립스) 설치 - IDE(Integrated developement Environment) : 통합개발환경 설치
eclipse 홈페이지 이동
The Community for Open Innovation and Collaboration | The Eclipse Foundation
The Eclipse Foundation - home to a global community, the Eclipse IDE, Jakarta EE and over 415 open source projects, including runtimes, tools and frameworks.
www.eclipse.org
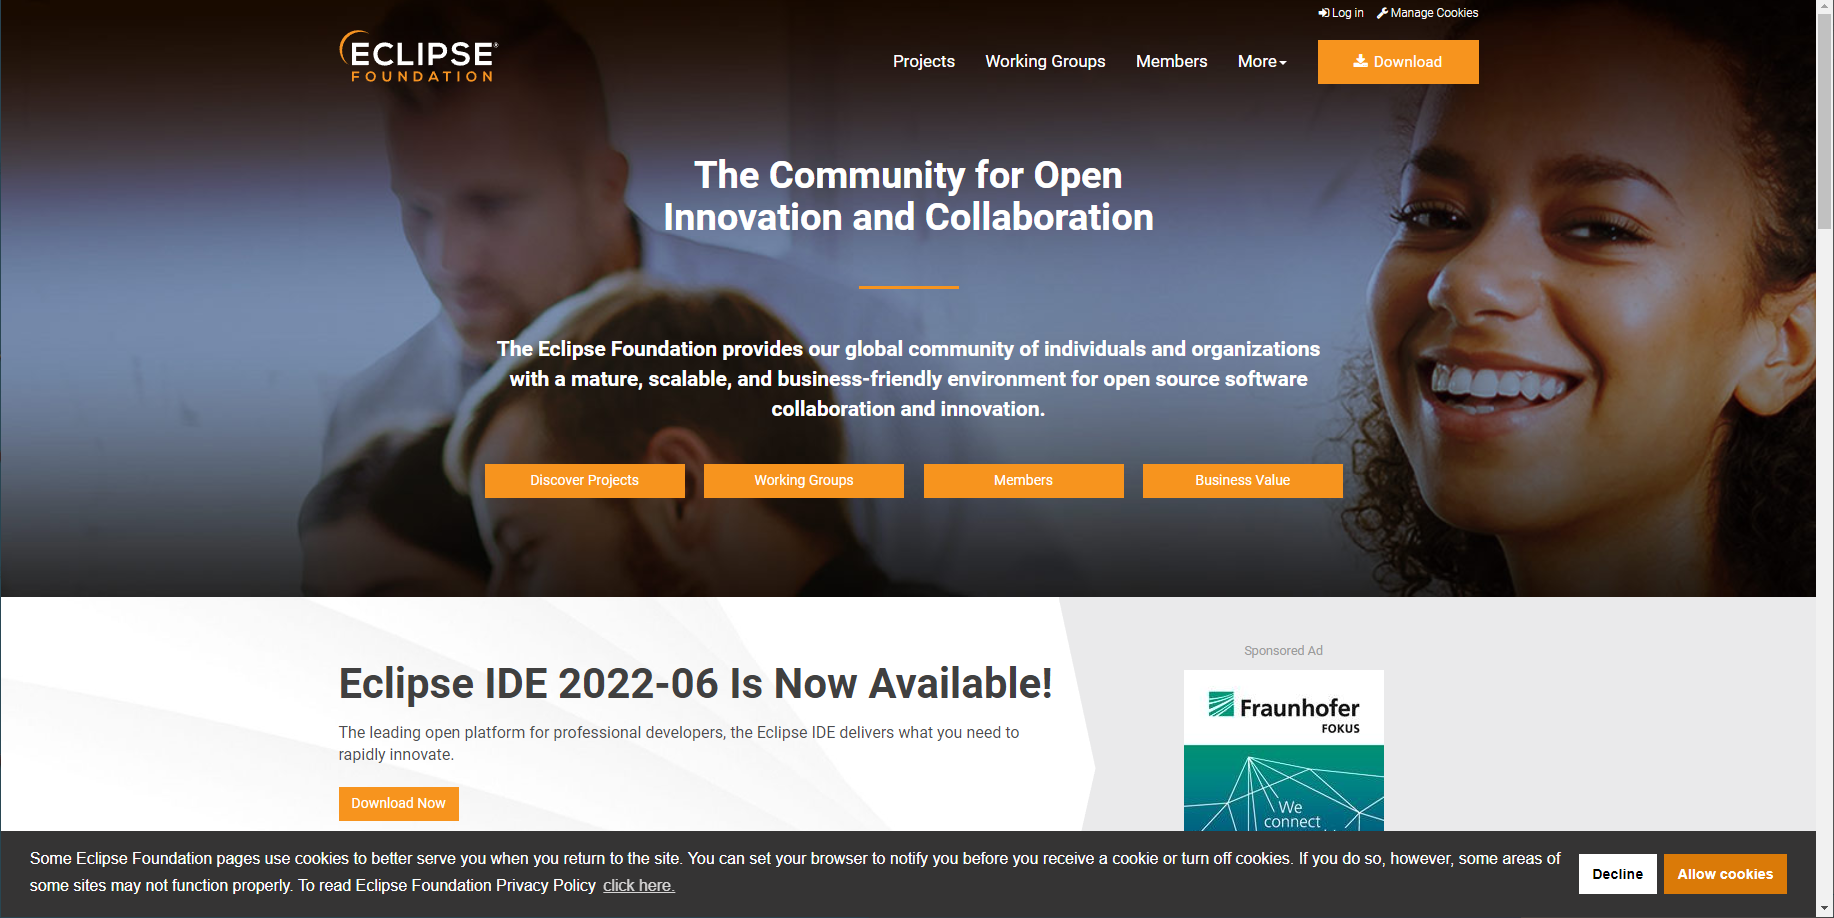
1. download 클릭
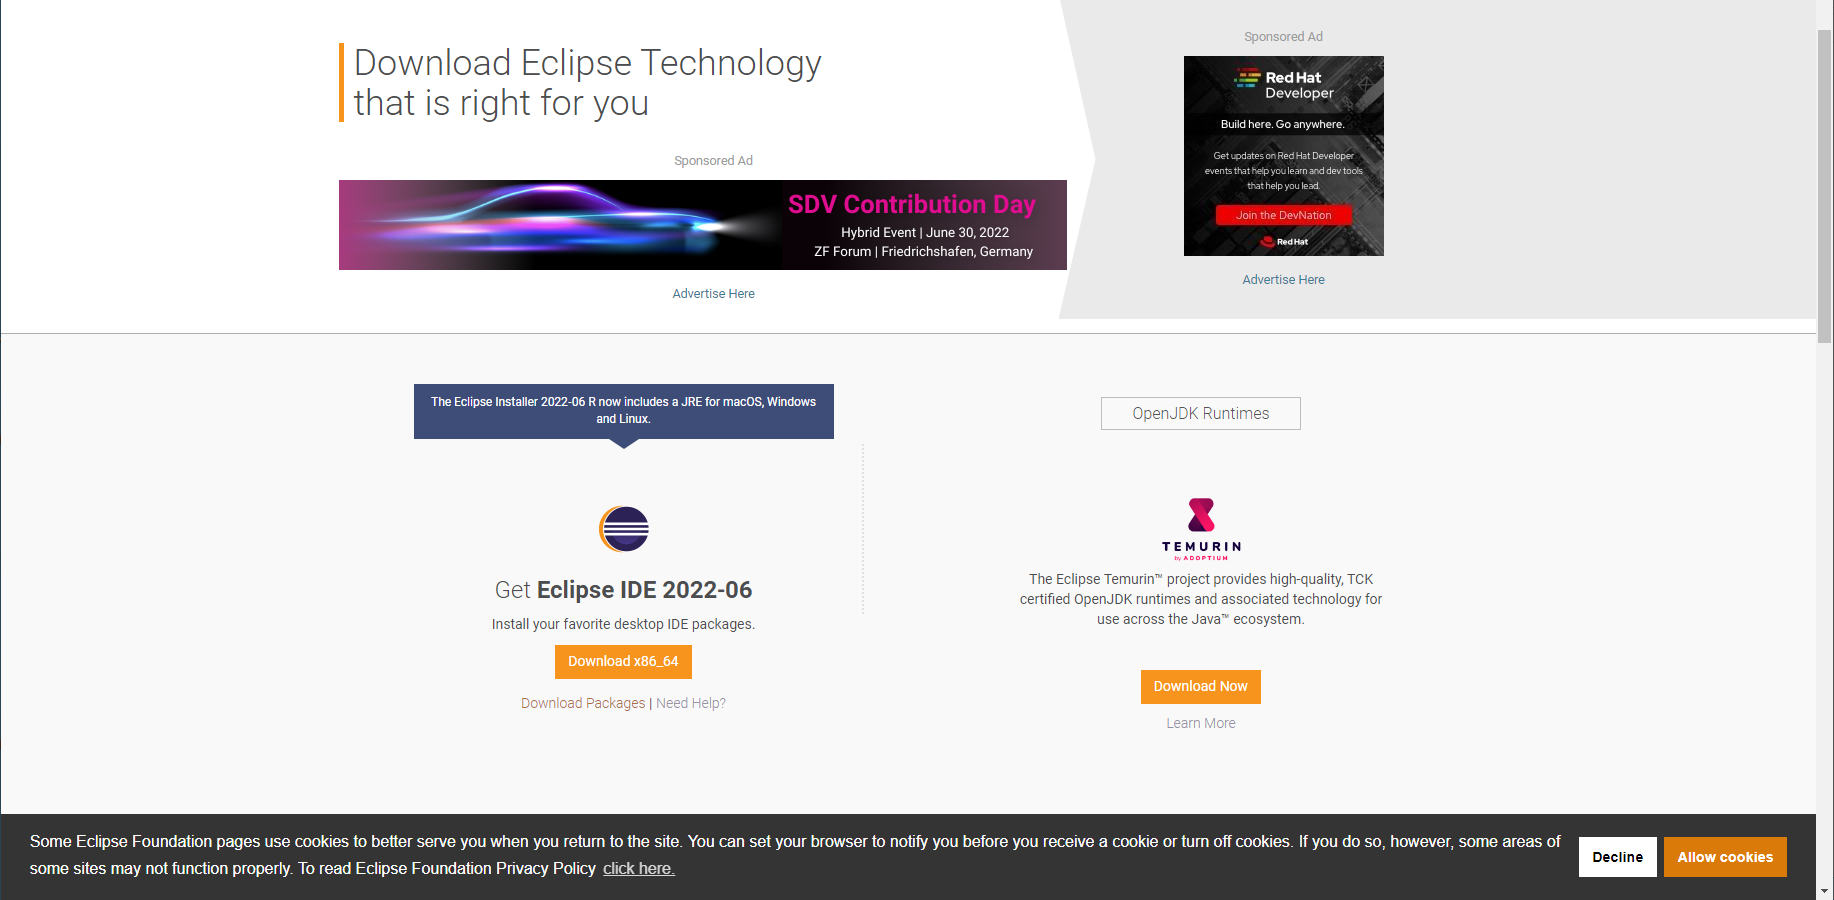
2. download packages 클릭
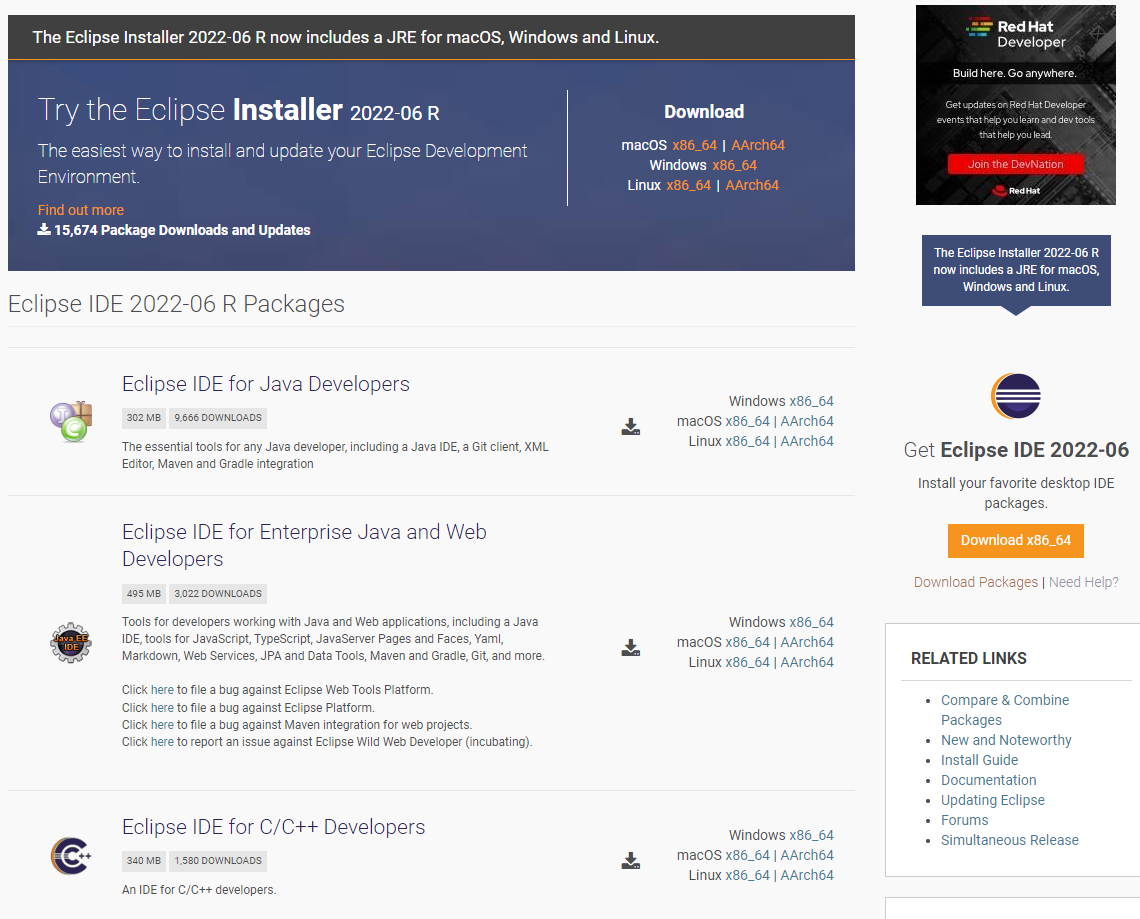
3. 첫번째 eclipse IDE for Java Developers 옆 windows x86_64 클릭

4. select Another Mirror 클릭

5. KaKao Corp. 클릭 후 다운

6. C드라이브에 java 폴더 생성 후 경로 C:\java\jpt 로 설정
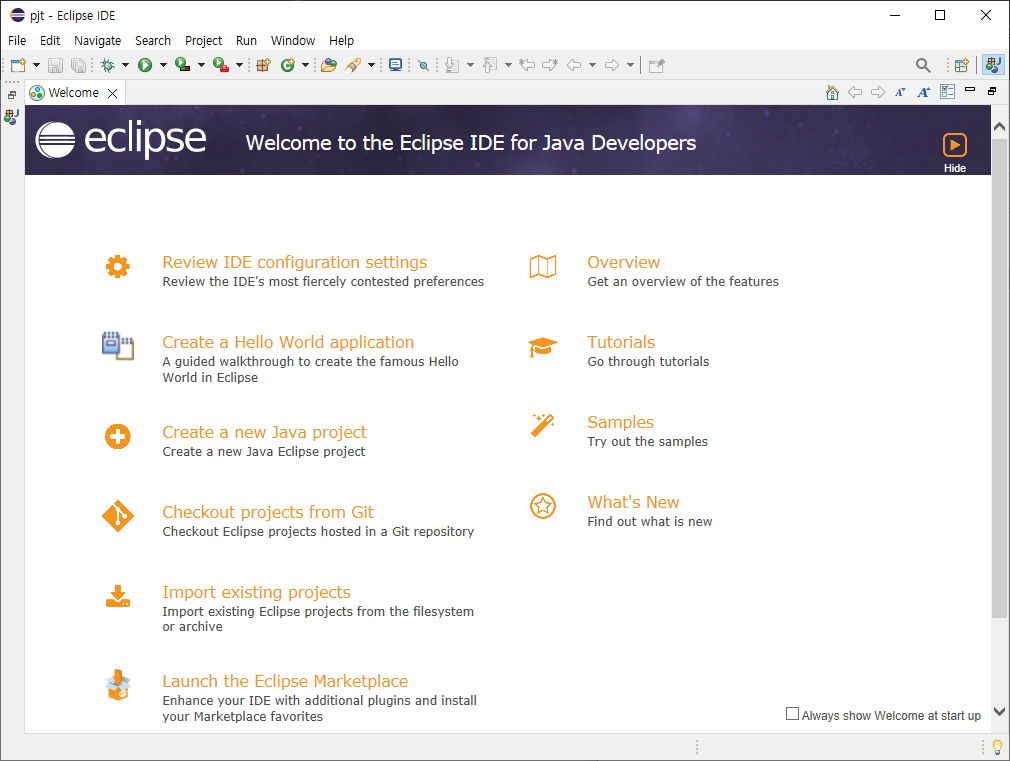

7. eclipse 설치 완료

8. 프로젝트 만들기(프로젝트 이름 - 소문자로 시작)
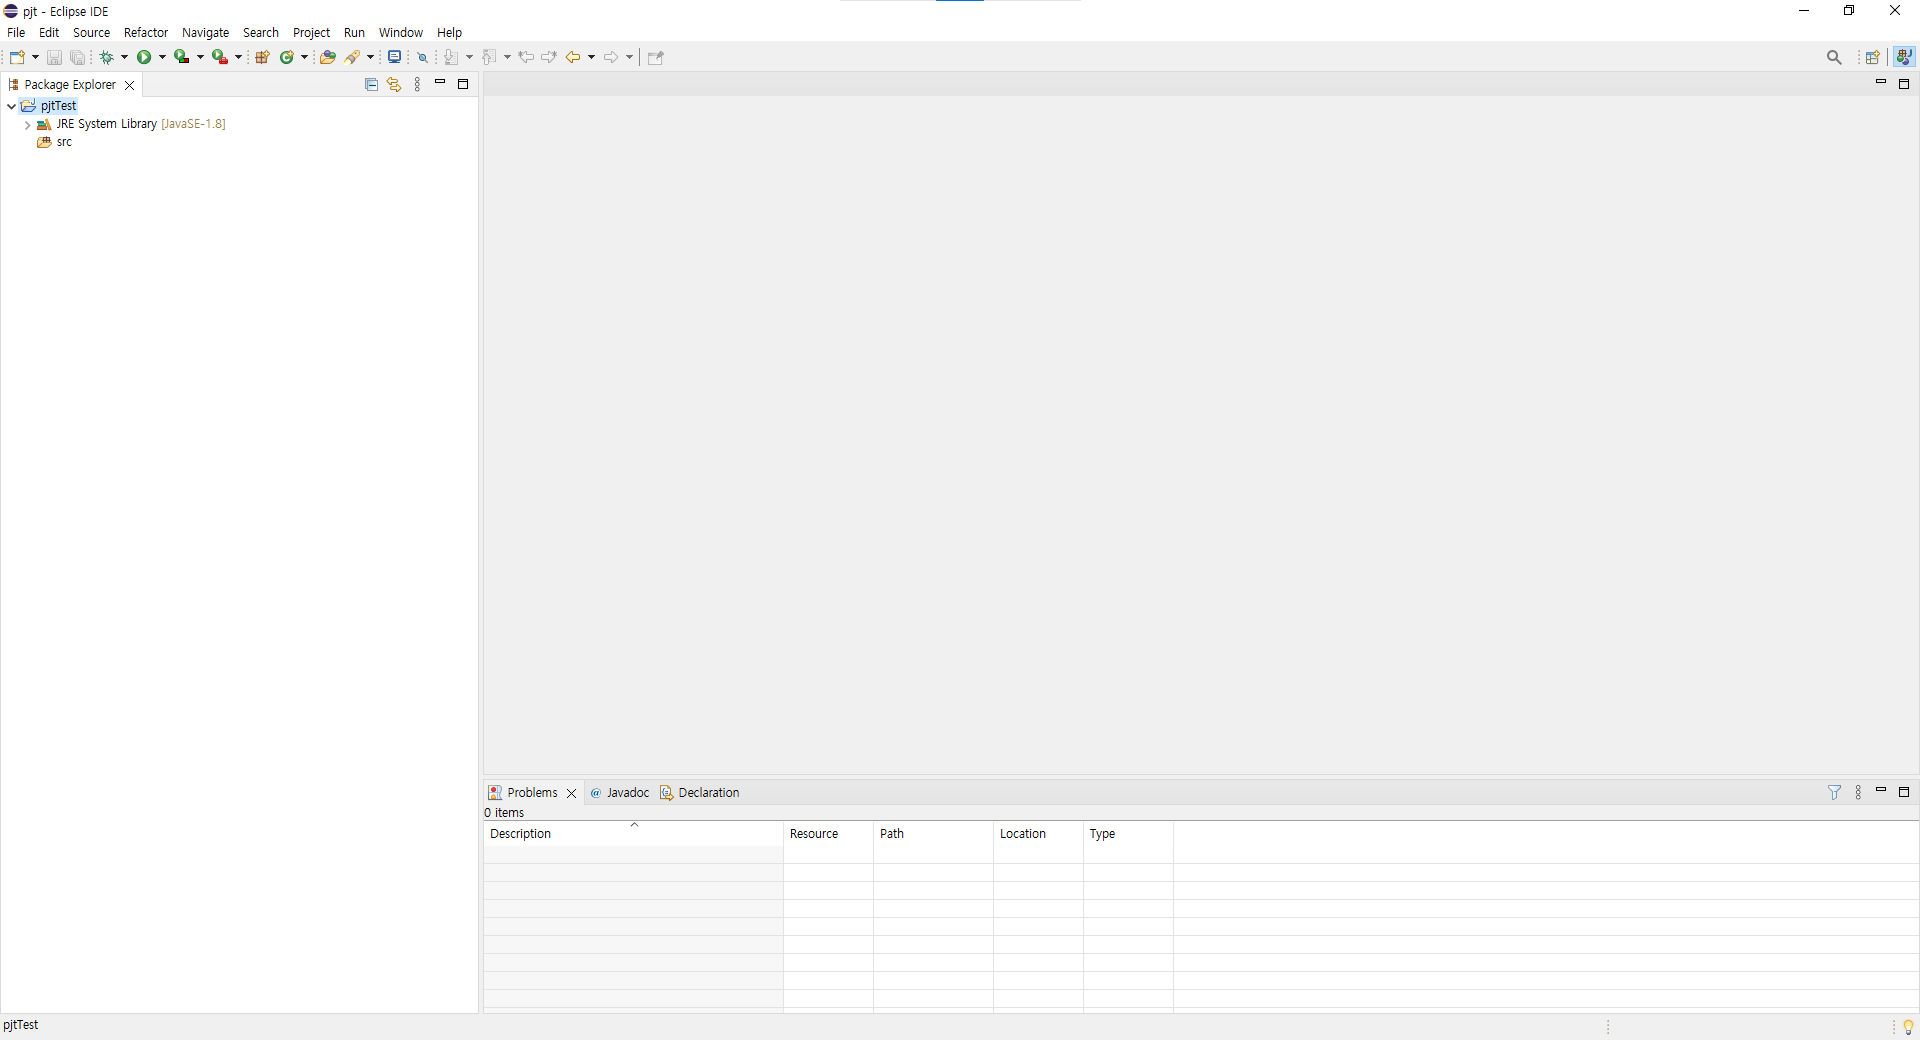
9. 프로잭트 생성

10. 클래스 만들기
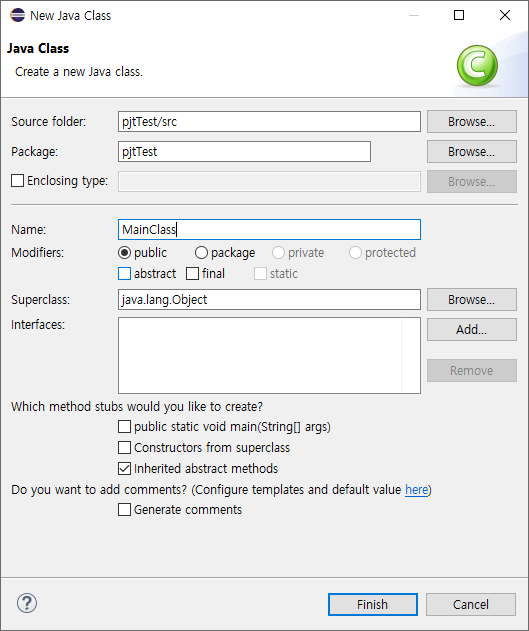
11. 이름 입력 후 Finish(대문자로 시작)

12. Hello World 실행하기
main 입력 후 ctrl + space bar 후 main method 선택 -> main 출력
syso 입력 후 ctrl + space bar -> println 출력
글자 설정 방법, 나눔고딕코딩 다운로드
Windows XP : 다운로드 후 시작버튼 제어판 → 모양 및 개인설정 → 글꼴 후 다운로드 받은 폰트파일에 넣기
Windows 7과 Window10 : 폰트파일 더블클릭 또는 우클릭 후 설치 클릭
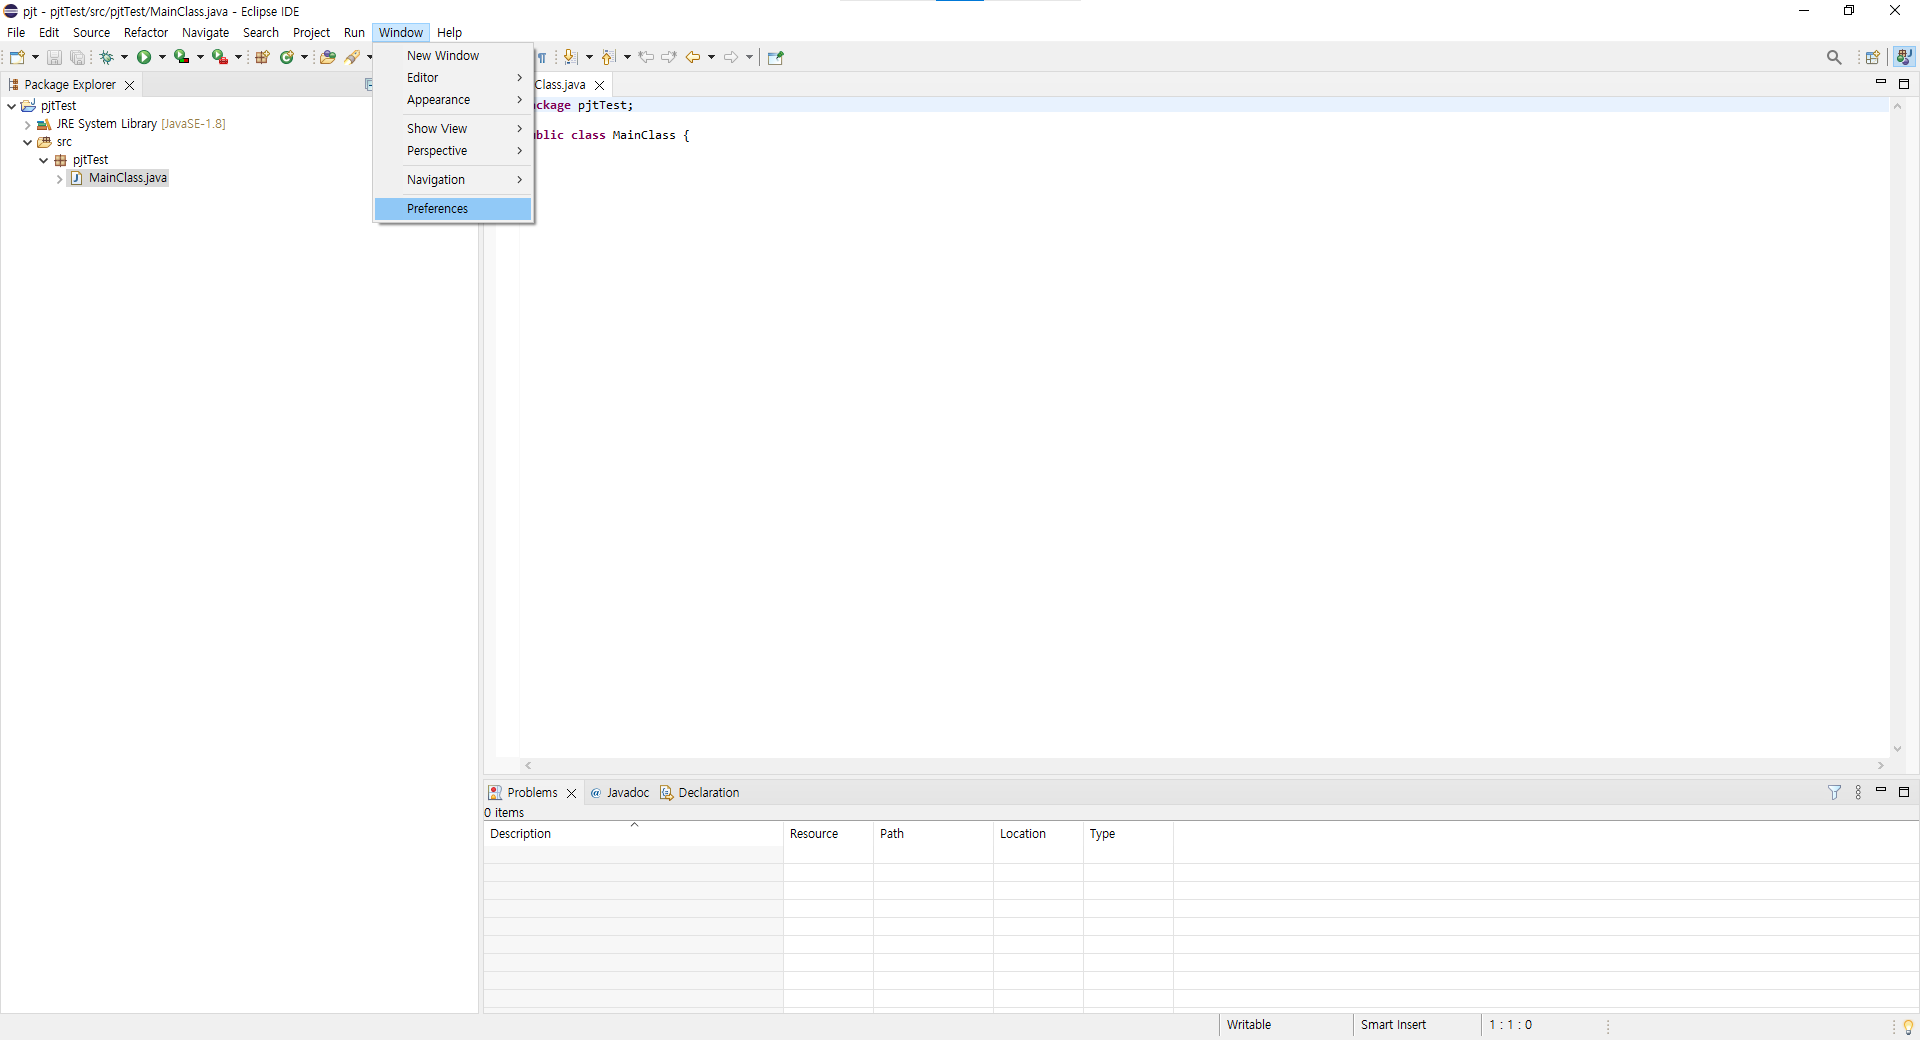
1. window → Preferences

2. General → Appearance → Colors and Fonts → 우측 Basic
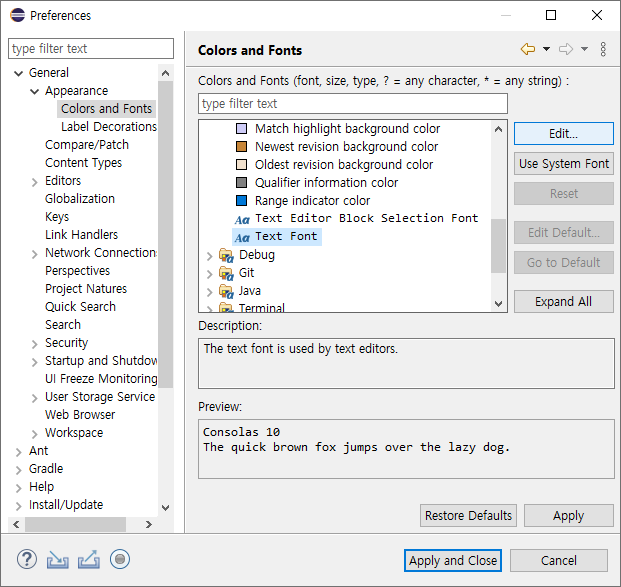
3. 내려서 Text Font → 오른쪽 Edit
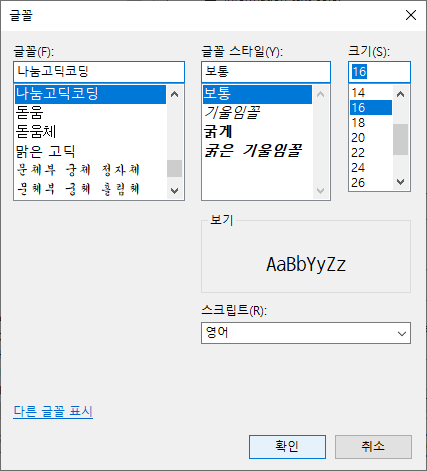
4. 설정 후 확인, apply
'Java > 입문' 카테고리의 다른 글
| [Java] 환경변수 설정 방법 (0) | 2022.06.19 |
|---|
